
Overview:
To transfer files from your local machine to Codd or Einstein, you
must use a secure file transfer application.
One of the free Windows based SFTP applications is WinSCP3.
WinSCP3 can be downloaded
here
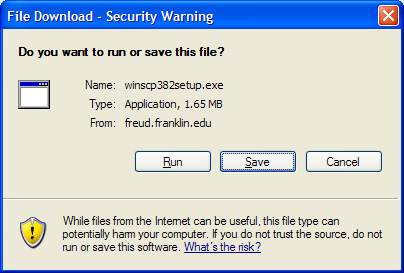
In File Download window, click
Save.
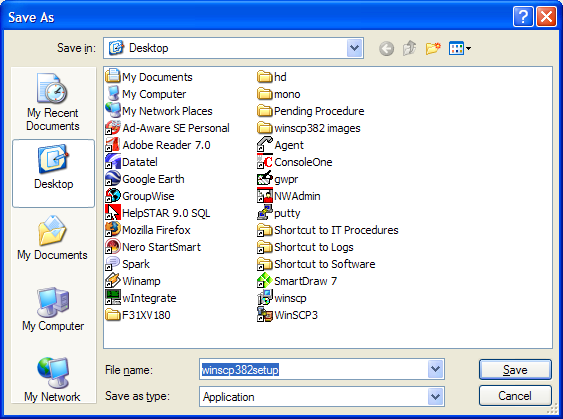
In the Save As window, click
on Desktop on the left-hand side, and click
Save in the lower right.
After the download is
complete, click Run on the download box
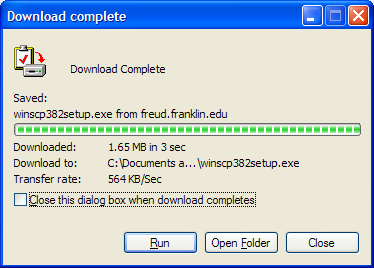
OR
Double click the
winscp350setup.exe icon on your Desktop.

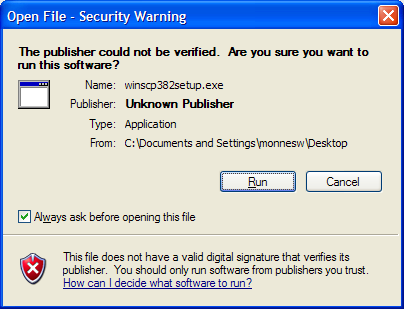
Select
Run from the Open File – Security Warning
window.
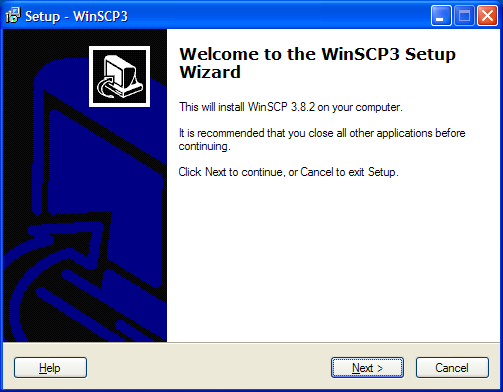
Setup will begin. Click
Next.
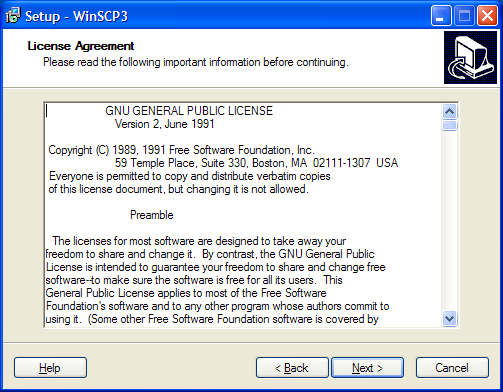
In the “License Agreement”
window, click
Next.
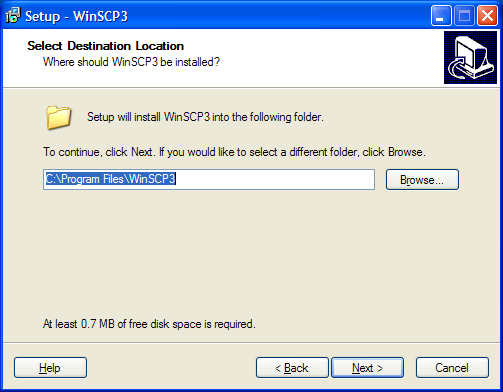
“Select Destination Location”
can be left as the default of C:\Program Files\WinSCP3. Click
Next.
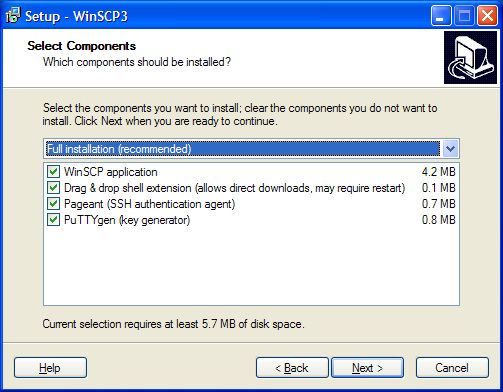
Make sure all components are selected in the
“Select Components” screen. Click
Next.
Click
Next on the “Select Start Menu Folder”
screen.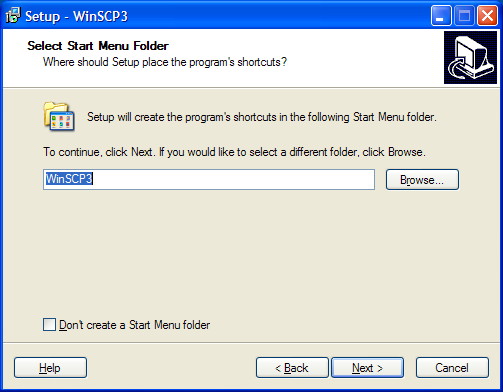
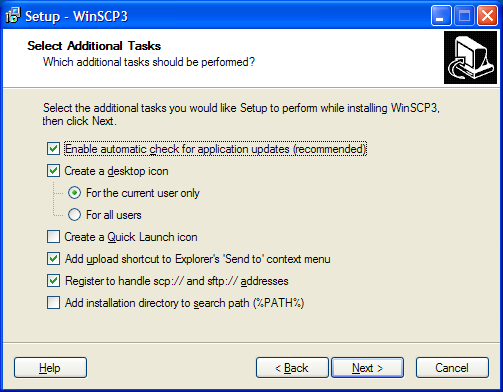
Leave the settings at the
default, and click Next at the “Select
Additional Tasks” screen.
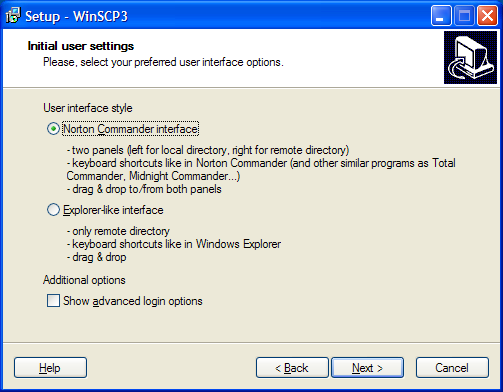
Make sure Norton
Commander is
selected in the “Initial user settings” and click Next.
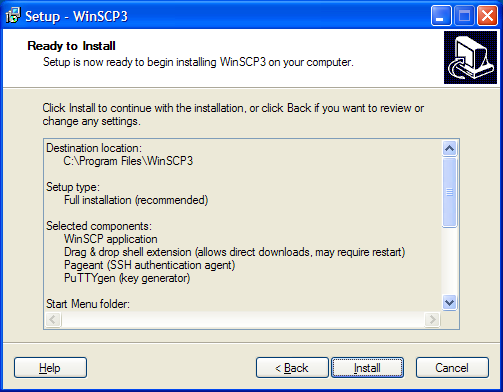
From “Ready to Install”,
click
Install.
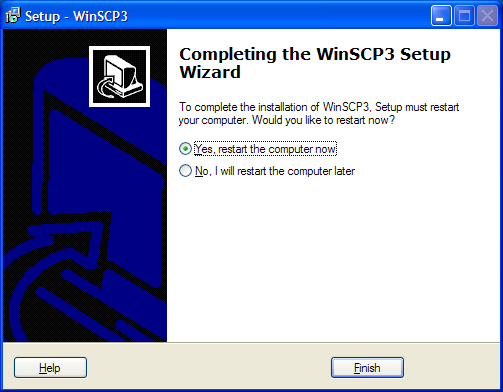
After setup has finished the installation, you will need to restart your pc.
The following steps will show you how to transfer files to the Codd or Einstein servers.
Double-click the
WinSCP3 icon on
the desktop.
![]()
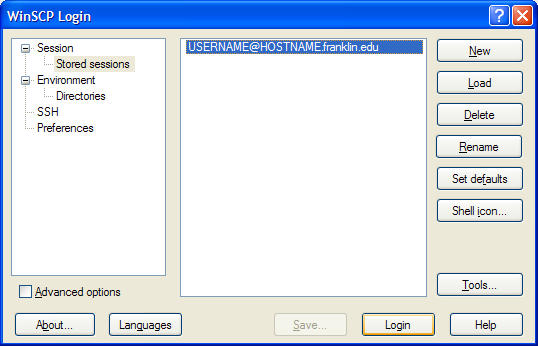
For first the time user, the
WinSCP Login window will look as such.
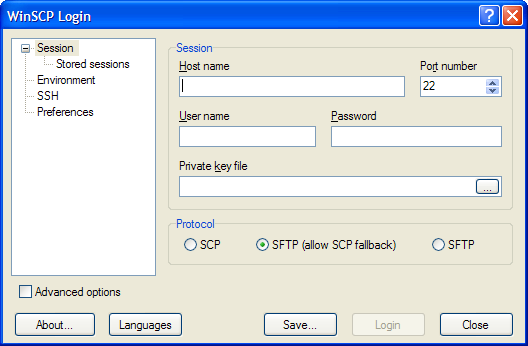
Fill in the appropriate
information.
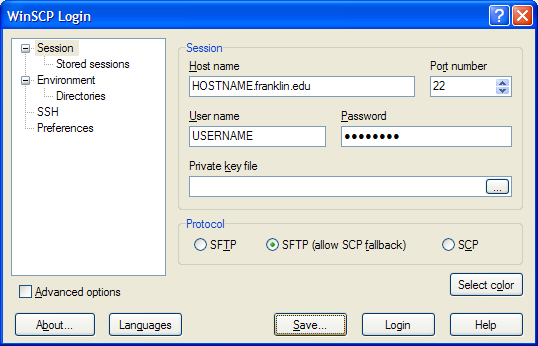
a.
The
Einstein hostname is
einstein.franklin.edu OR cs.franklin.edu
b.
The
Codd hostname is
codd.franklin.edu
c.
The
User name is your
myFranklin login username.
d.
The
Password is your
myFranklin login password.
e.
Make sure the
Port number is set to
22, and the SFTP (allow SCP fallback) radio button is selected.
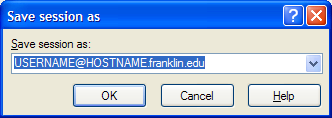
f. Click
Save…
to save the session for future use.
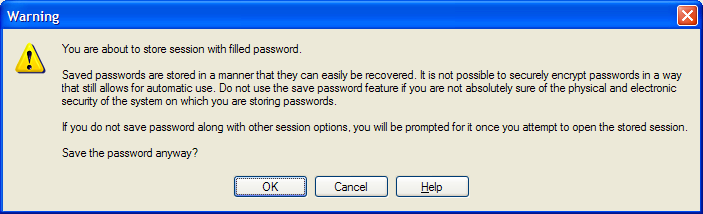
g. You will be asked if you are sure you want to save a
session with a password. If you are sure your information is correct,
click OK.
1. Click OK to save the session.
To access a saved session, click
Stored sessions on the left side, select
the session you want to access, and click Load.
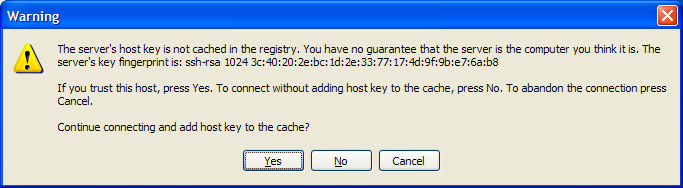
If this Warning window appears,
click Yes.
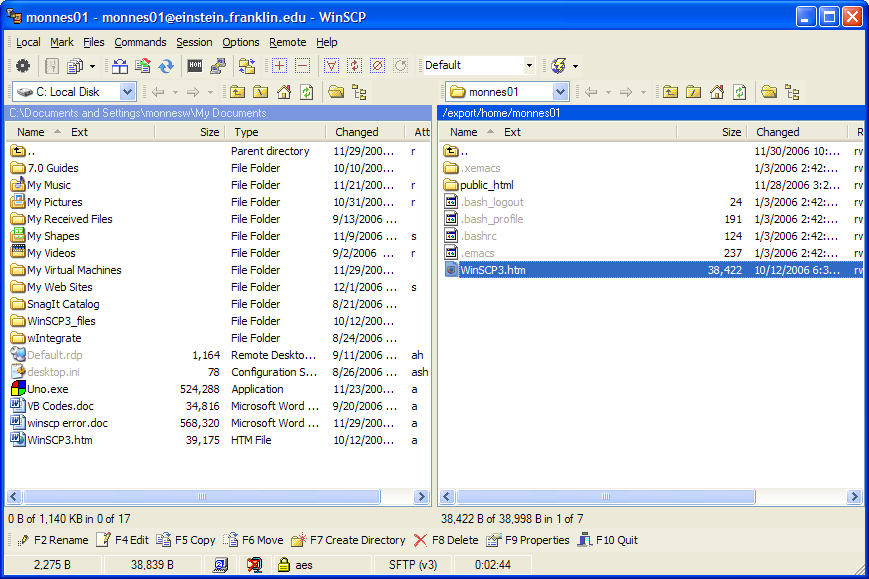
WinSCP3 window is divided into a
right and a left panel. The left panel lists the files on your computer, and
the right panel lists the files on the server to which you are connected.
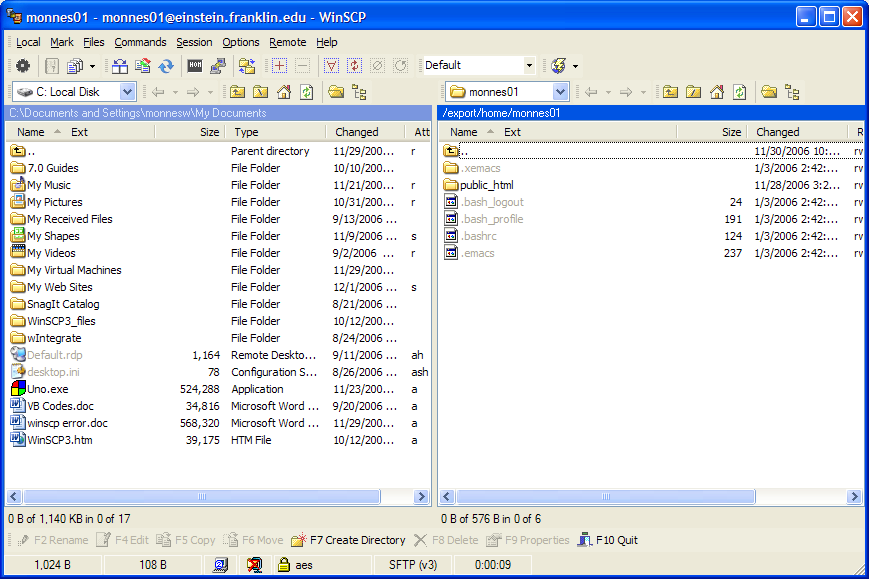
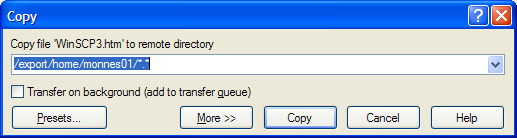
To transfer a file
or folder from the local computer to the server, simply drag the object from
the left panel to the
right panel. Click
Copy when the Copy window appears.
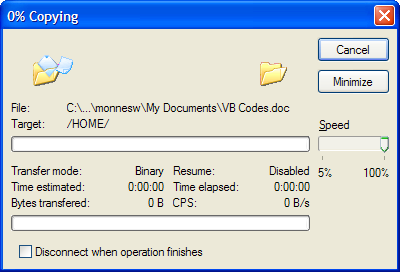
As files are copied, the
following window will show the progress.
You will now see your
document in the right panel.
To
delete a file, click the filename you wish to delete, and click
F8 Delete at the bottom of the
window.
![]()
To
rename
a
file, click the filename, click
F2 Rename
at the bottom of the window, and enter the new name of the file.
![]()