(Q) I have seen some unique panoramic images created using PhotoShop by creating a view span of several different images. My question is what tools or combination of tools are used to accomplish a panormaic image view?


(A) Cindy:
From what I gather, most panoramic photos would be useful when you are unable to take a shot of one scene because it is too wide, so you would take several images, and then merge them together. I guess in several cases, you would want to plan this ahead of time, so that you get all parts of the scene which overlap.
Pages 152-157, in Chapter 6 of our text, give some detail on how to accomplish this task. If you plan ahead, you should use a consistent zoom level, focus, and exposure, when taking shots of your anticipated object (scene).
If possible, use a tripod so the images are at the same level, and try to overlap the image edges by 15 to 40 percent. From my understanding, the best result will come from a camera that is capable of certain settings. Also, you can create either vertical or horizontal panorama images, so you would need to take the pictures accordingly.
First, you would need to place all photos in the editor, select them (CTRL + Click Each), choose New from the File Menu, and then choose the Photomerge Panorama option. This will bring you to the Photomerge dialog box.
From there, you would click the Add Open Files button, and this will place your selected image files in the Source File viewer. If all photos needed are in the viewer, click a Layout Style radio button, then choose OK. The application will create a new image file, and magically merge the two images together. From there, you could perform some touch ups.
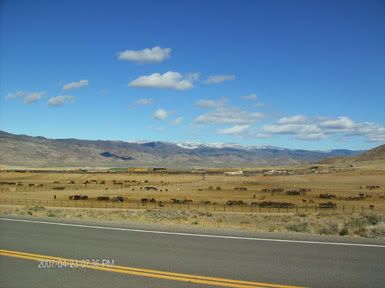
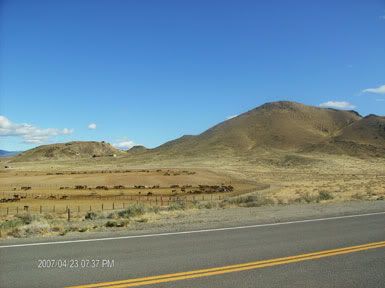
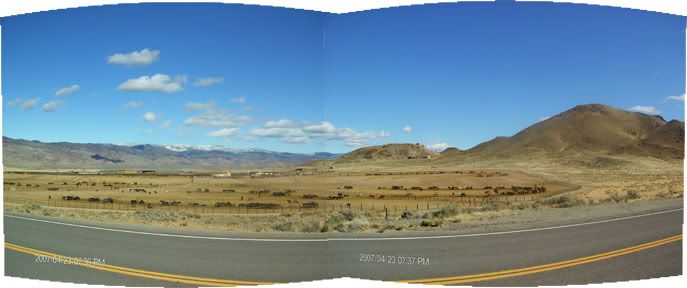
There is more detailed information on pages 154 through 157 about this tool. Information on using an interactive option is explained, but I have not tried it. I didnít do anything fancy, but I found some pictures I took outside of Reno (toward Lake Pyramid) and used those images in the above example to see how it works. The final image could still use a lot of touch-up!
Here are some links with information. If you have time, I am sure you could find some videos for more complicated images: